This article describes how to add questions on your TableCheck Booking page, that the diners can fill answers to while making the booking at your venue.
This article covers the following topics:
Setting up
1. On TableCheck Settings, click Venues on the left panel and again select Venues under it.
2. Click the cogwheel icon for the venue for which you want to add questions.
3. Go to the Online tab, and add your questions in the Form Question fields as desired. Click Save when done
Question Types
| Answer Type |
Settings Screen |
TableCheck Page Preview |
|
Textbox (free text answers) |
|
|
|
Checkbox |
|
|
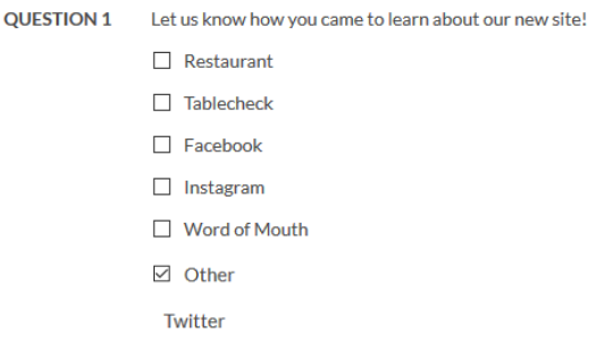
| Multi-Checkbox |
|
|
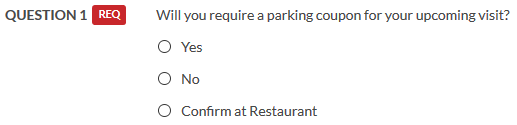
| Radio Buttons |
|
Additional Options
Required Answers Checking the Required box, will make answering the question mandatory prior to creating a reservation.
In relation to the Radio Button question format, if question is Required, the Not Specified option will be hidden.
Include "Other"? This option is available with the Multi-Checkbox and Radio Button formats.
Enabling this setting will allow diners to enter their own free text answer.
Enabling this setting will allow diners to enter their own free text answer.
Viewing answers on TableCheck Manager
Answers to all questions can be found in both the Online tab in the Manager system, and the individual reservation's summary screen.